Getting started
A walkthrough from sign-up to your first verified payment, with screenshots and video. Plan on 15–20 minutes.
Overview#
By the end of this guide you'll have a working tenant, a configured payment gateway, working webhooks, and a verified test transaction. Each step has a short video plus inline screenshots.
Video walkthrough coming
Full walkthrough — sign-up to first payment
Two ways to get started
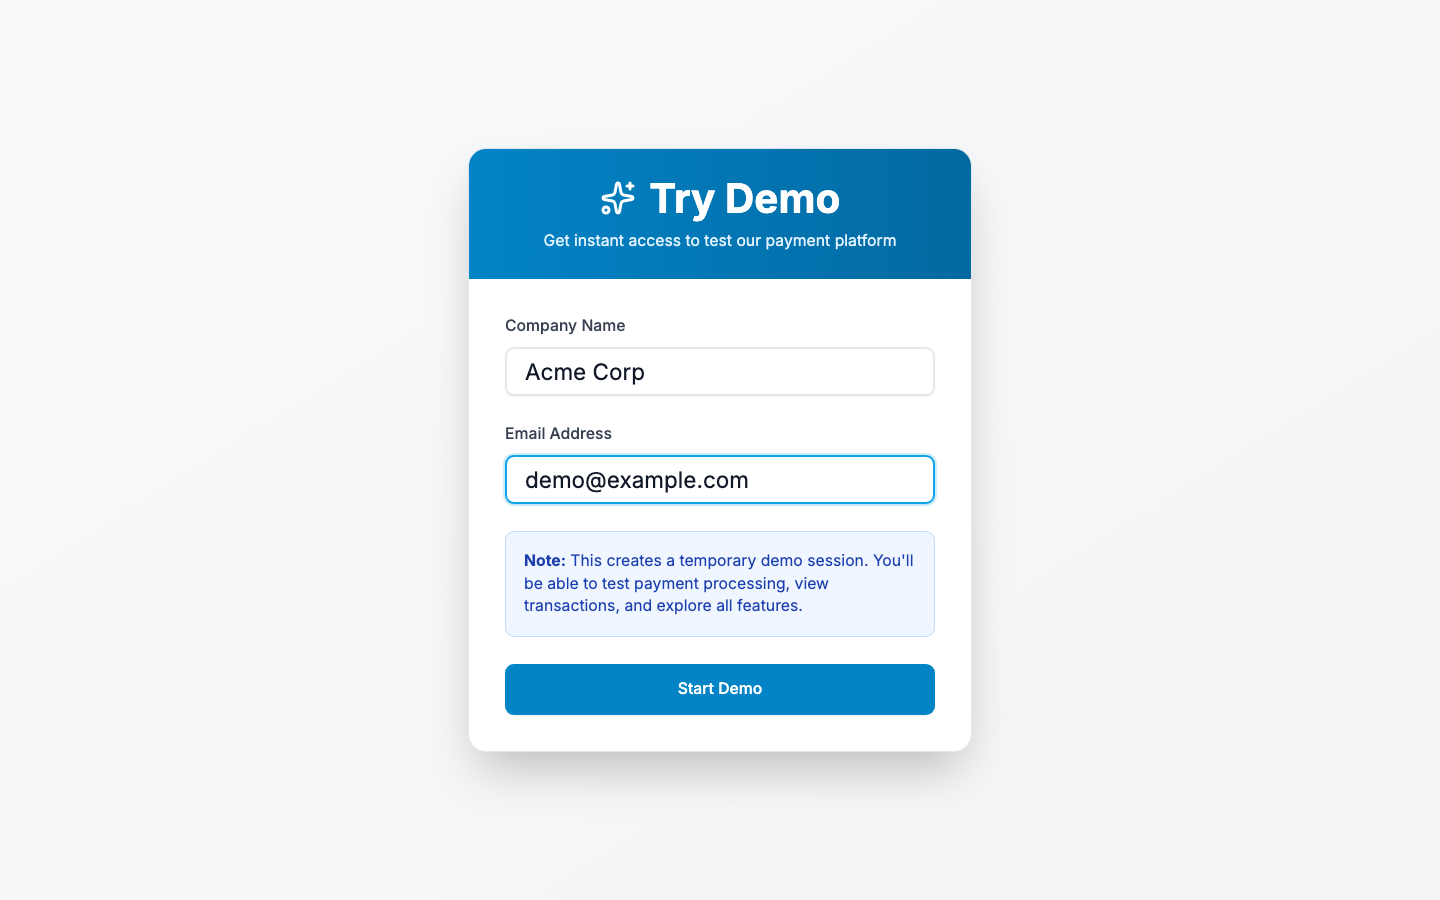
Try Demo — fastest path. Click Try Demo on the home page, enter a name + email, and you're in. Demos last 24 hours; you can claim them as a permanent account at any time.
Full account — your platform admin creates the tenant for you and emails you a temporary password. You change the password on first login and you're done.
1. Create your account#
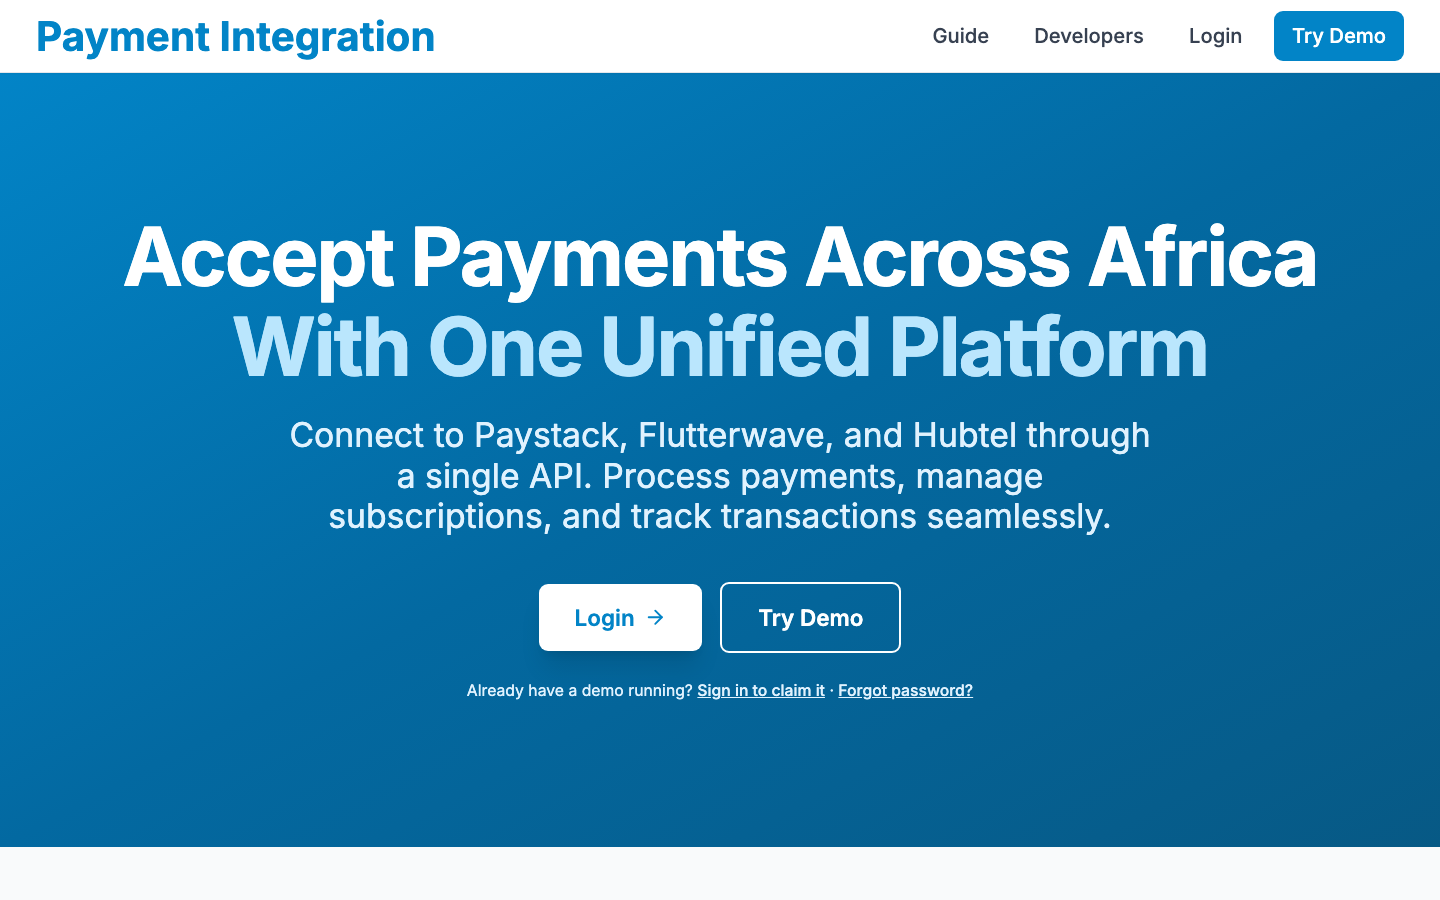
From the home page click Try Demo (or Login if your admin has already provisioned you). The demo form takes a name and an email — neither is verified, but the email is what shows on receipts.

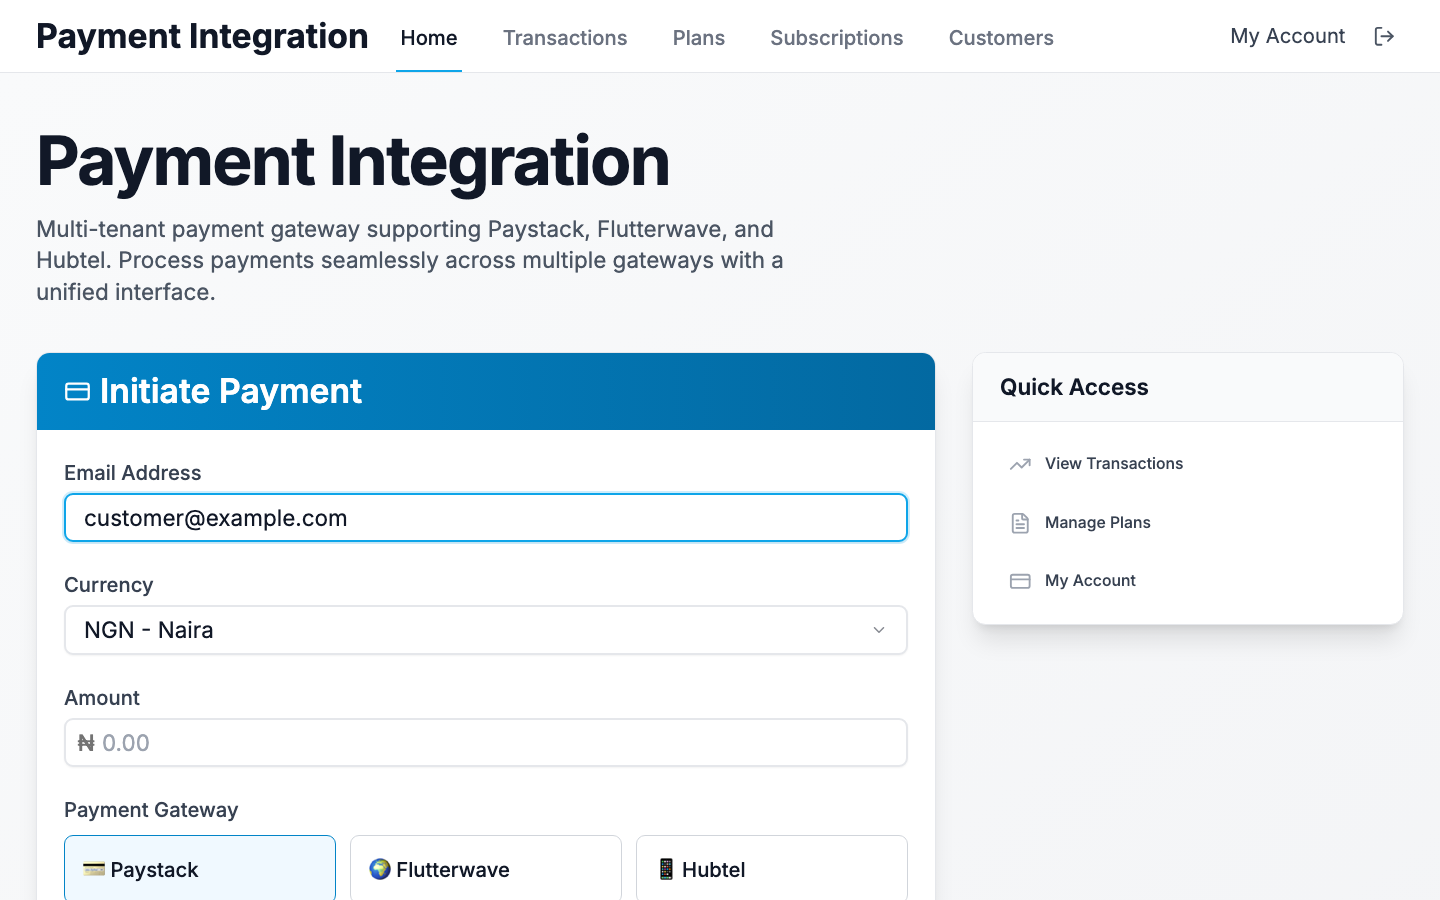
2. Dashboard tour#
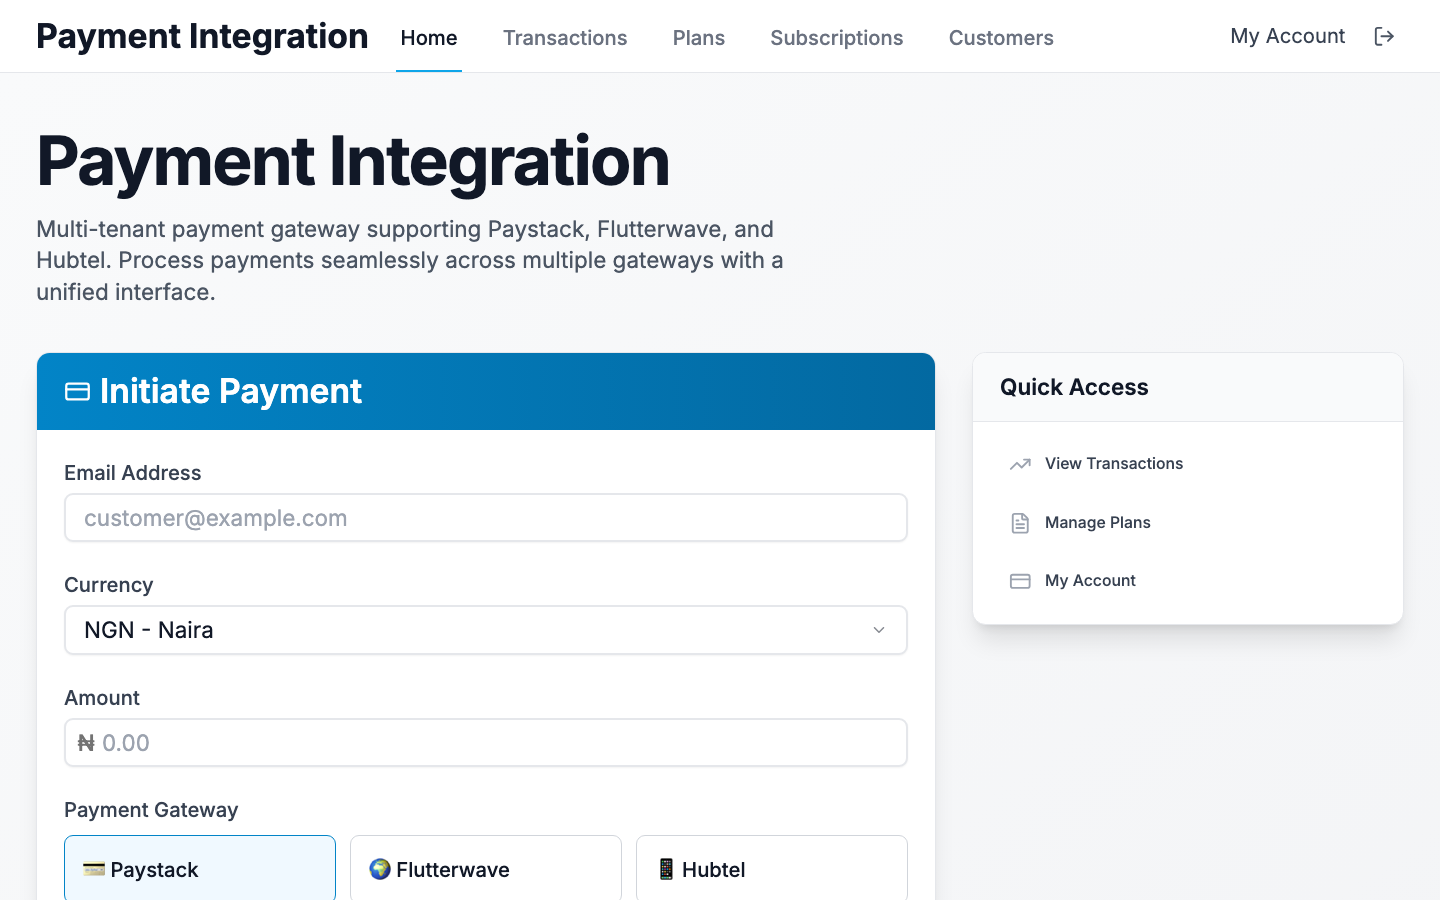
The top nav links to the major surfaces: Home, Transactions, Plans, Subscriptions, Customers, plus your account dropdown for API keys and gateway credentials.
Video walkthrough coming
2-minute dashboard tour
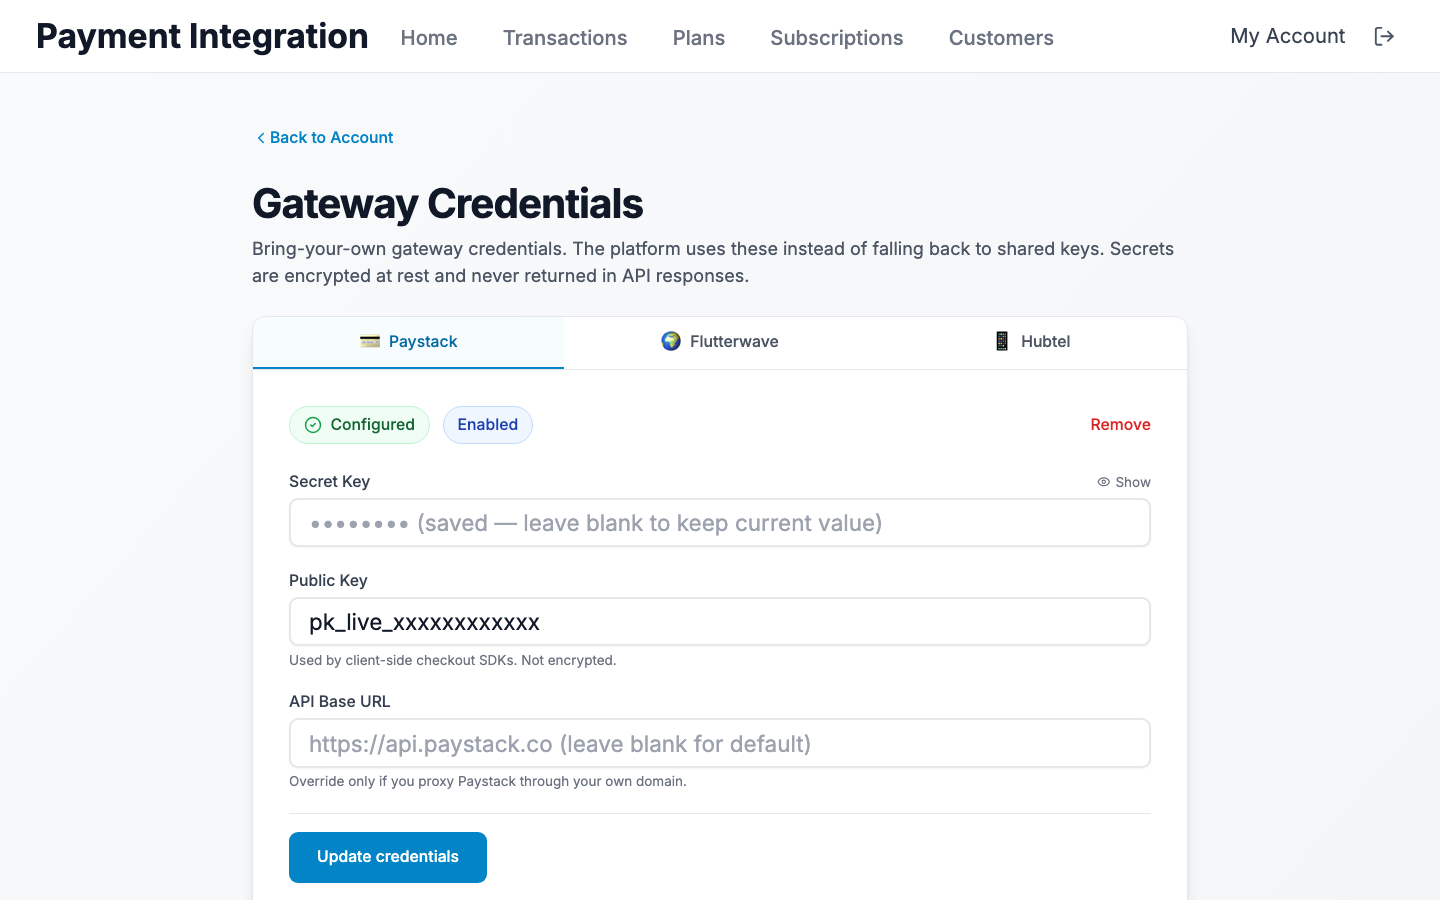
3. Configure a gateway#
Go to My Account → Gateway Credentials. Pick a gateway tab (Paystack, Flutterwave, or Hubtel) and paste your secret keys.
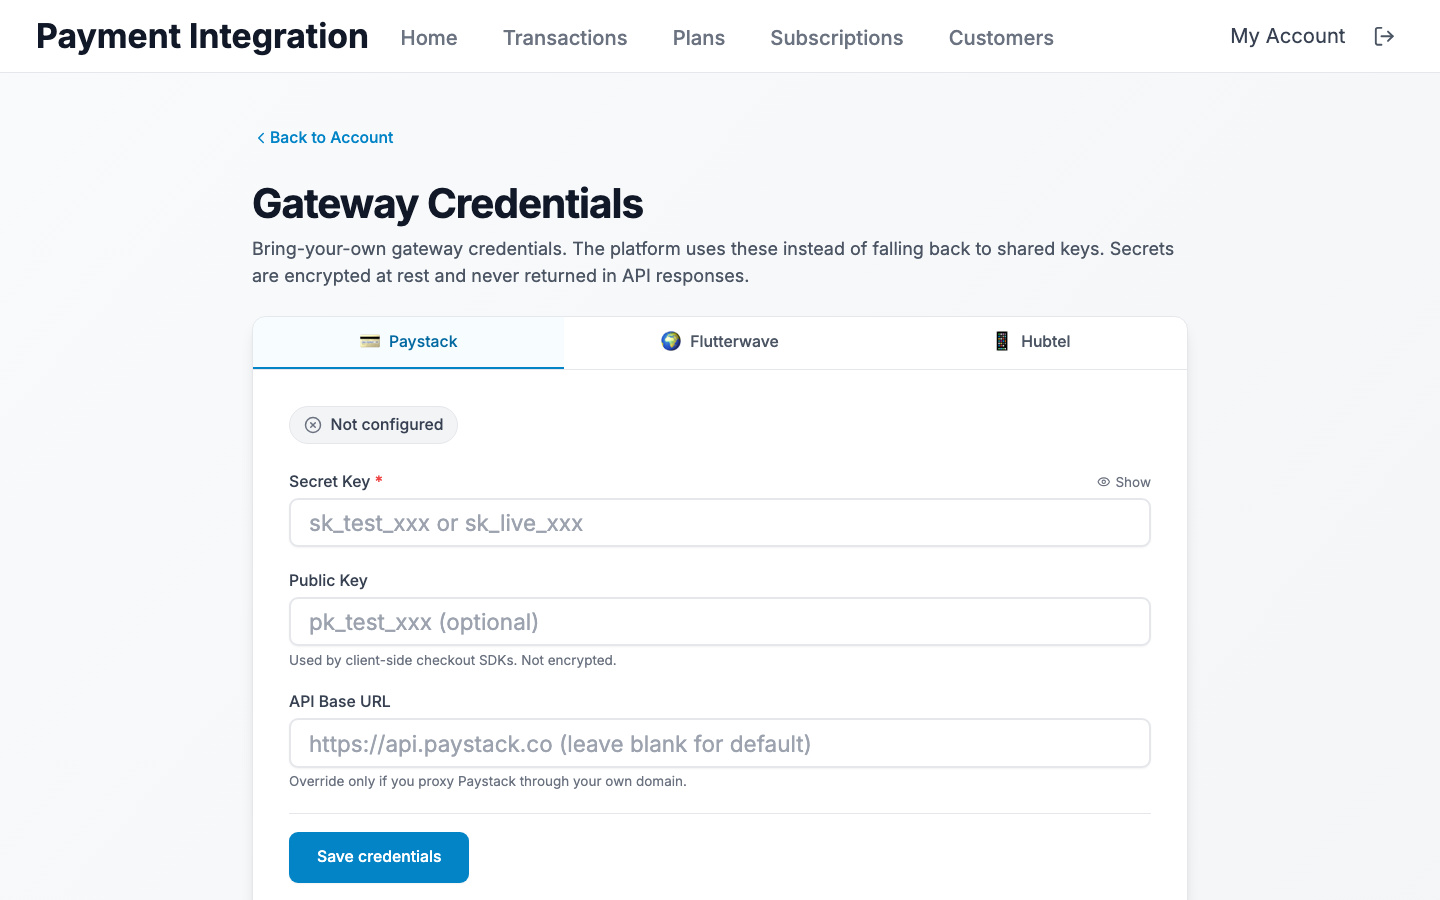
Required fields per gateway:
- Paystack — secret key (required); public key + custom API base URL (optional).
- Flutterwave — secret key (required) + webhook secret hash (required for webhook verification).
- Hubtel — API key + API secret.
Demo accounts
4. Set up webhooks#
Below the credentials form you'll see your tenant-specific webhook URLs. Copy each and paste it into the corresponding gateway dashboard.
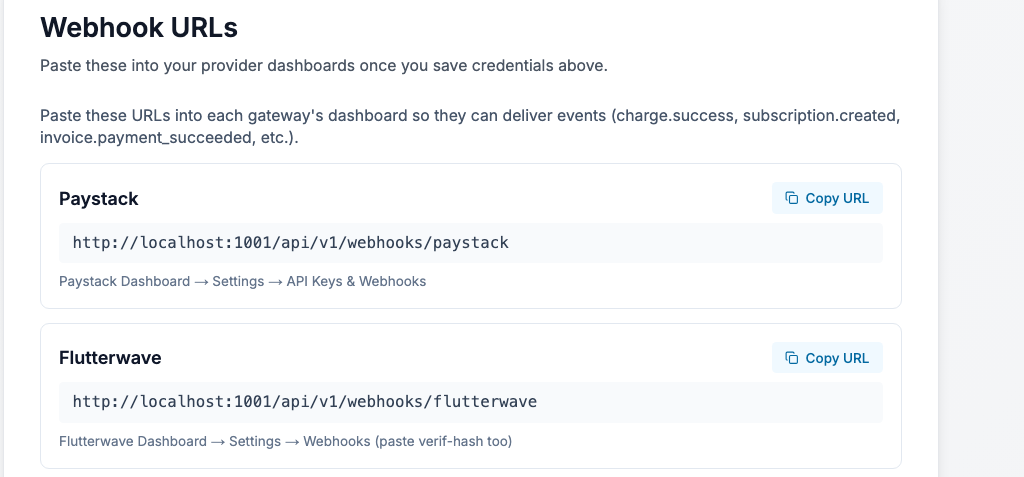
For each gateway, paste the URL into:
- Paystack — Settings → API Keys & Webhooks → Test/Live Webhook URL
- Flutterwave — Settings → Webhooks. Also paste the dashboard verif-hash back into the Webhook Secret Hash field on the gateway page.
- Hubtel — Callback URL field on the merchant dashboard.
Video walkthrough coming
Webhook configuration walkthrough
5. Your first payment#
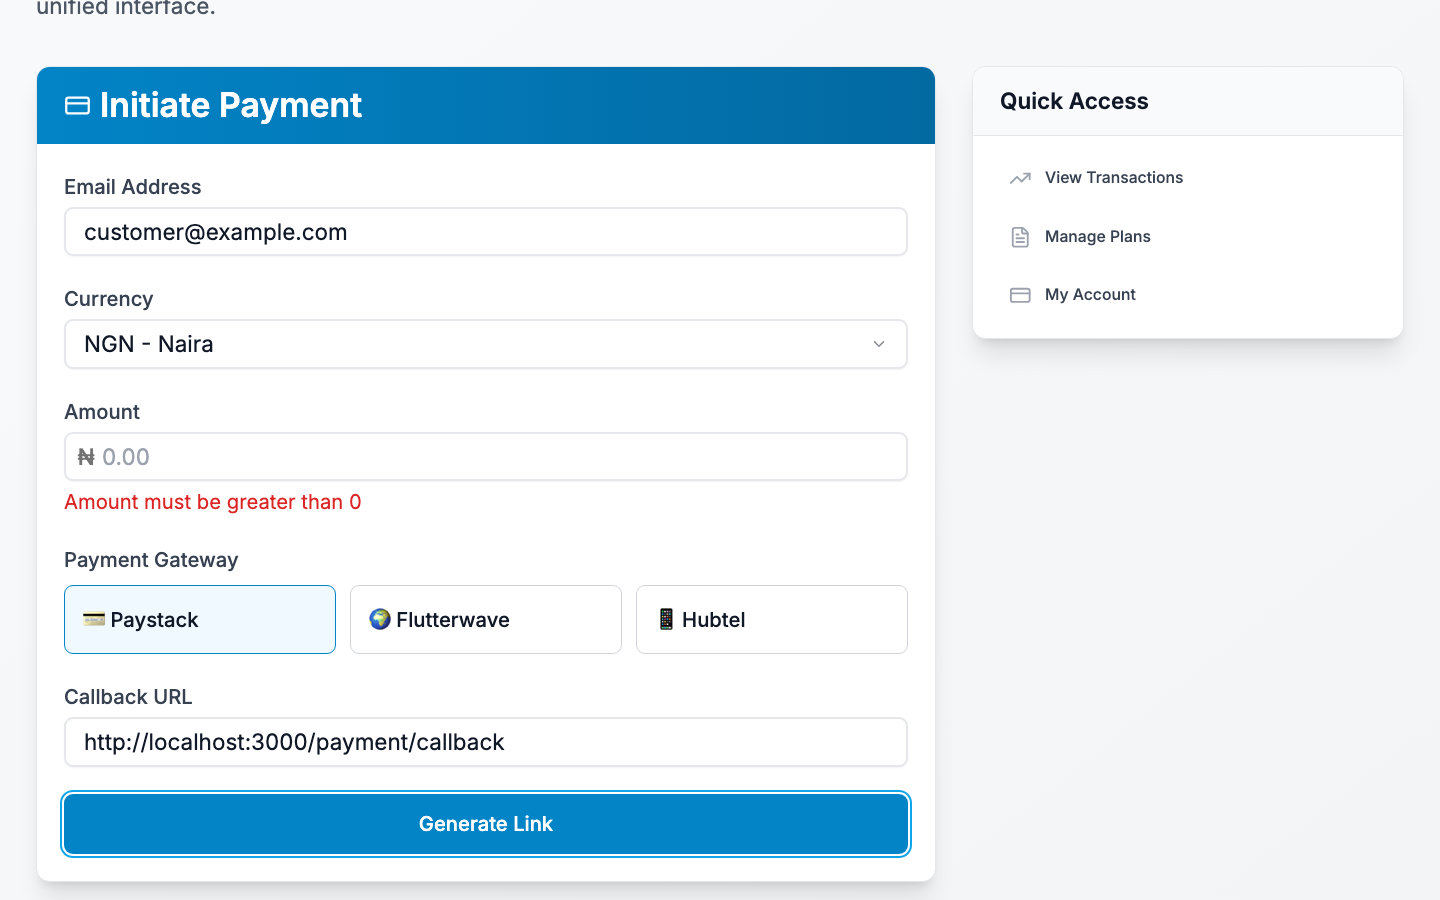
Open the Home (Payment) page. Fill in the customer email, amount, currency, and pick a gateway. Submit to generate a checkout link.
On submit, the API creates a pending transaction and returns a redirect URL. The UI shows the link with a Copy button and an Open-in-new-tab shortcut.
Use test cards
4084 0840 8408 4081, CVV 408, exp 12/30, OTP 123456). Live cards on a test secret will be rejected by the gateway.6. Verify a payment#
After the customer pays, the gateway redirects to the callback URL you supplied (the UI uses /payment/callback by default). The callback page reads the reference + provider from the query string and calls GET /api/v1/payments/verify/:reference. The transaction status is updated in the DB at the same time.
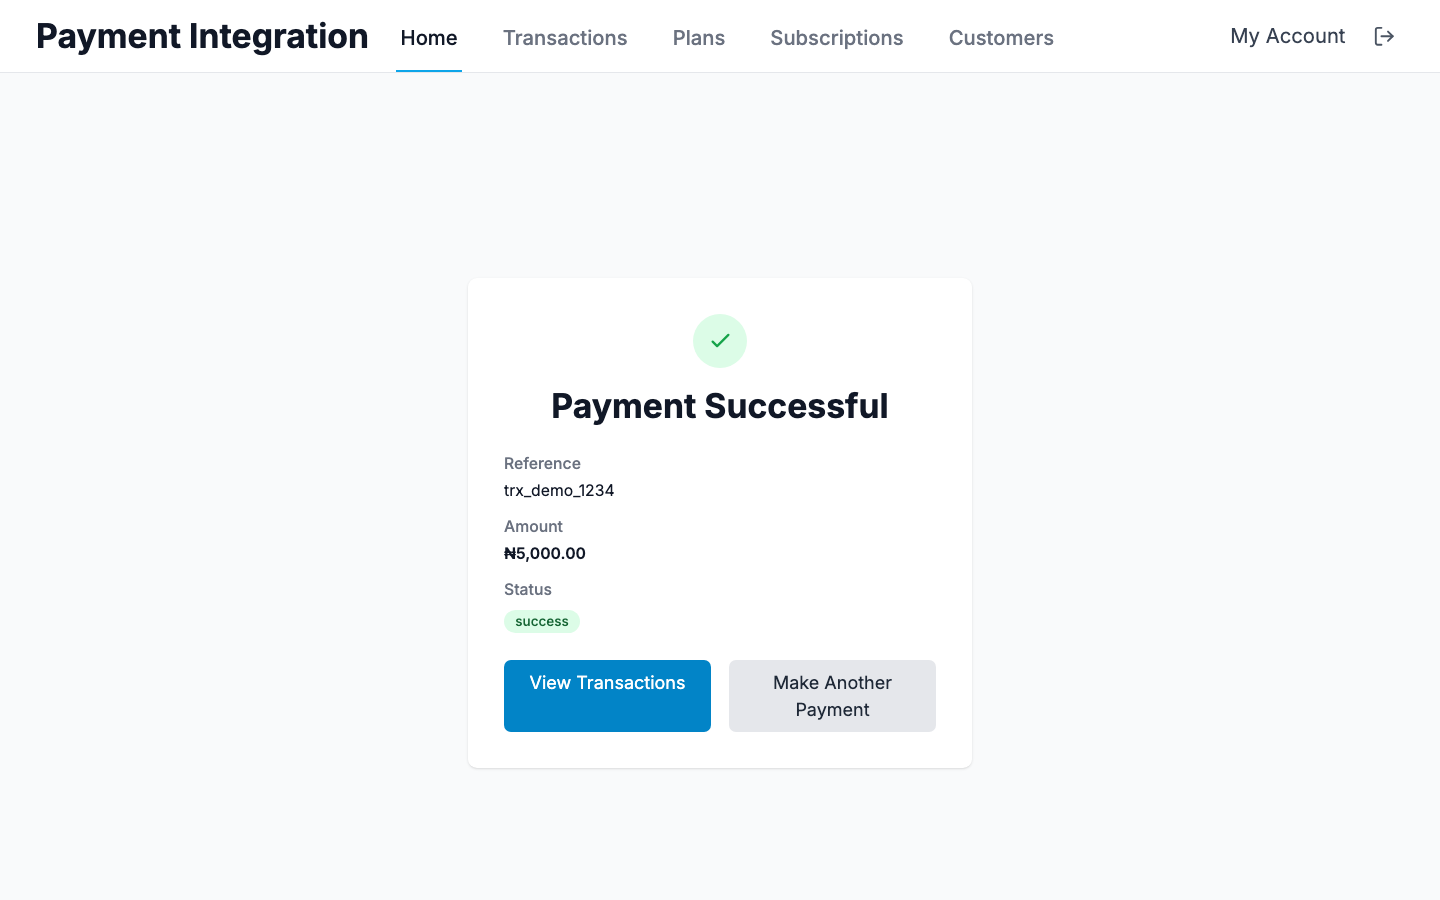
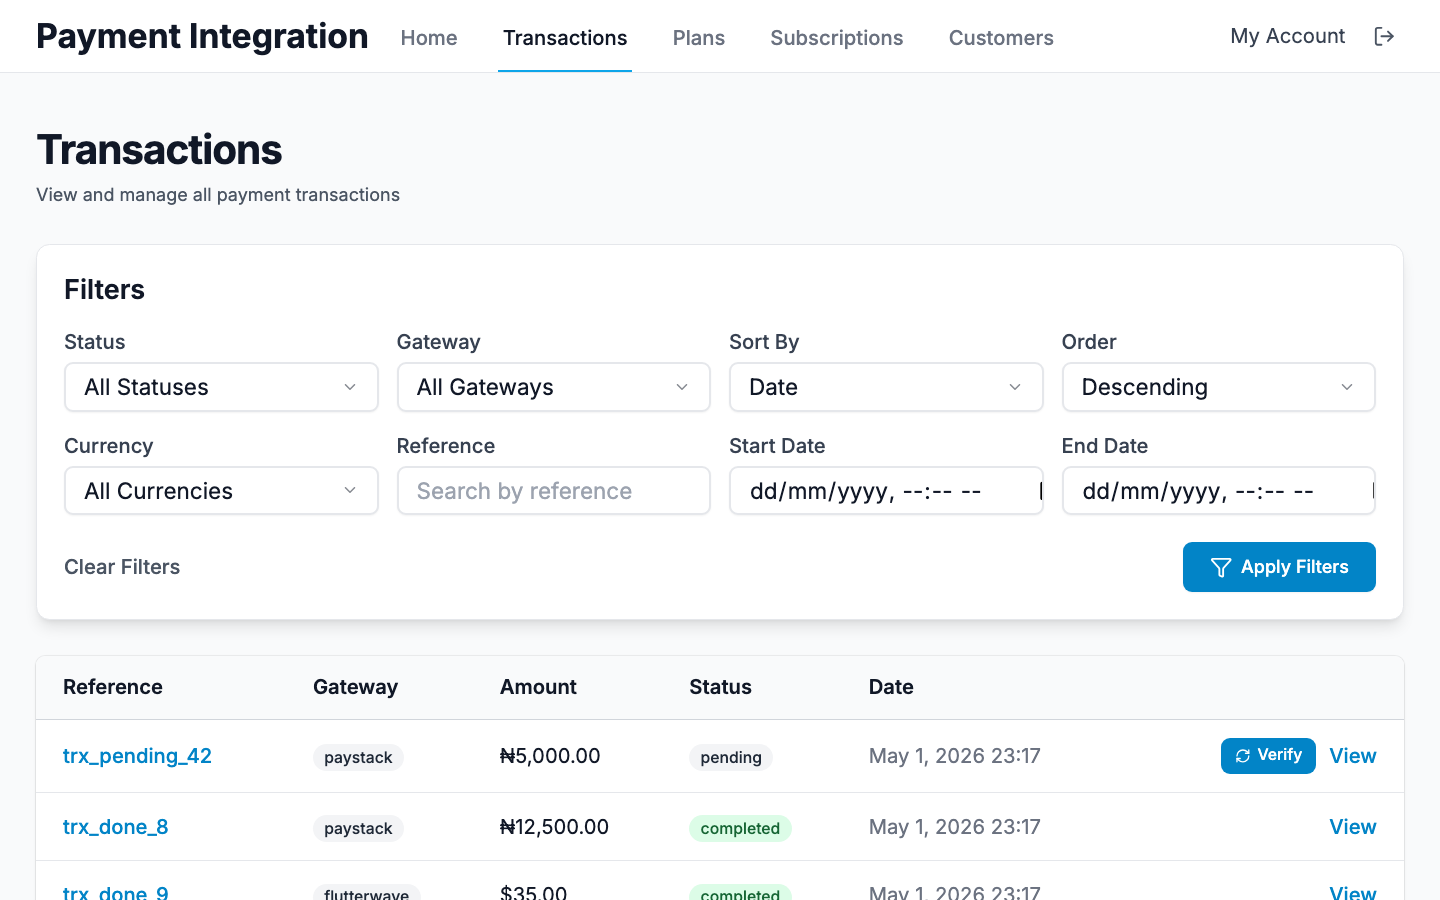
Already-completed payments can also be re-verified from the transactions list using the inline Verify button — useful when a webhook is delayed.
7. Plans & subscriptions#
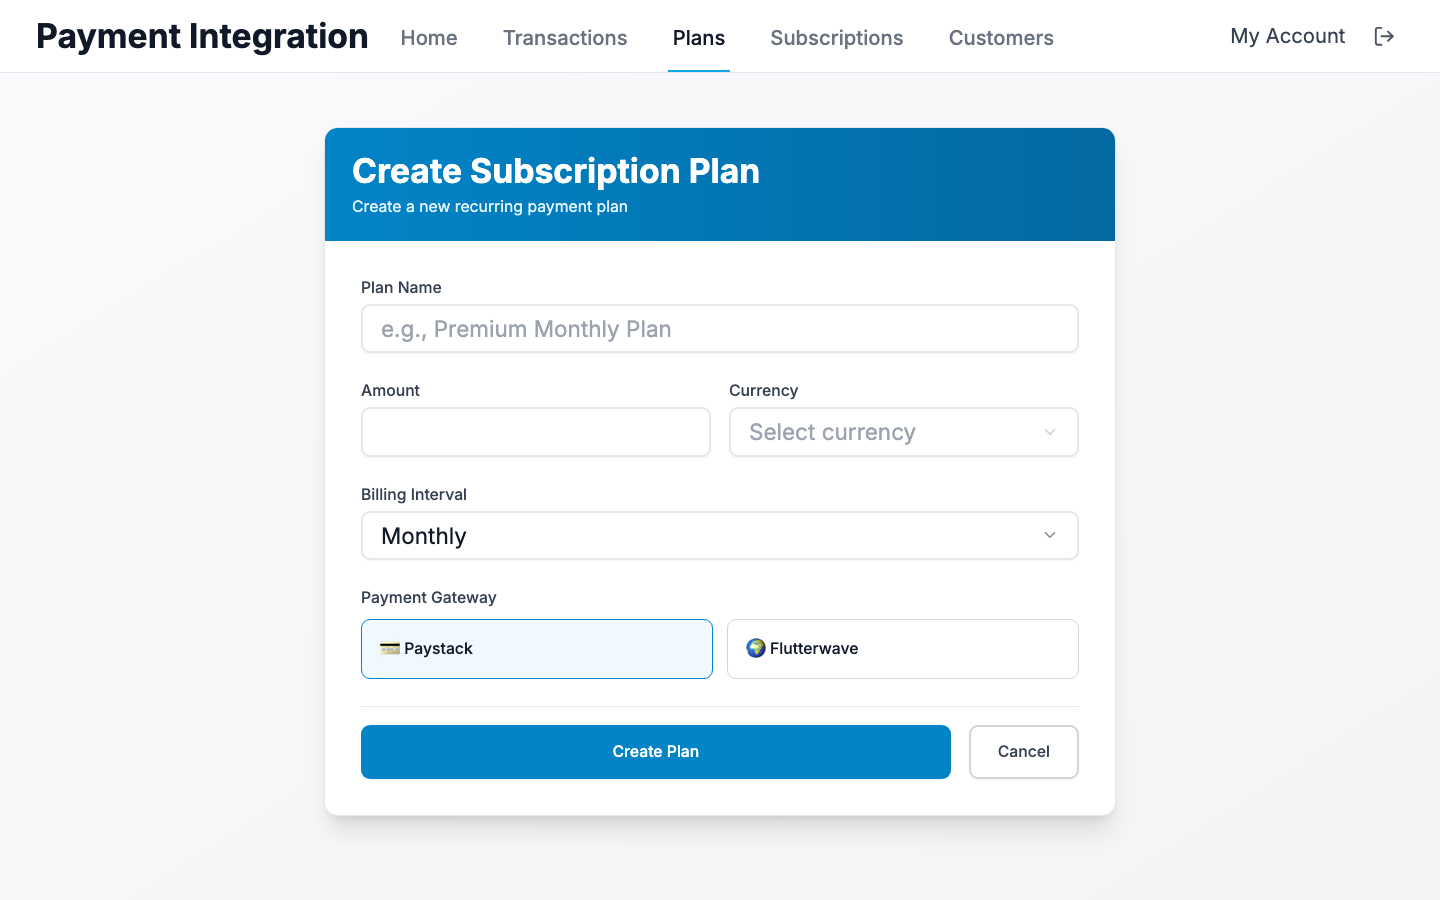
Plans are recurring payment amounts (e.g. "Pro Monthly — 5,000 NGN / month"). They live both in this API and on the gateway. Today only Paystack and Flutterwave support plan creation; only Paystack supports subscription creation.
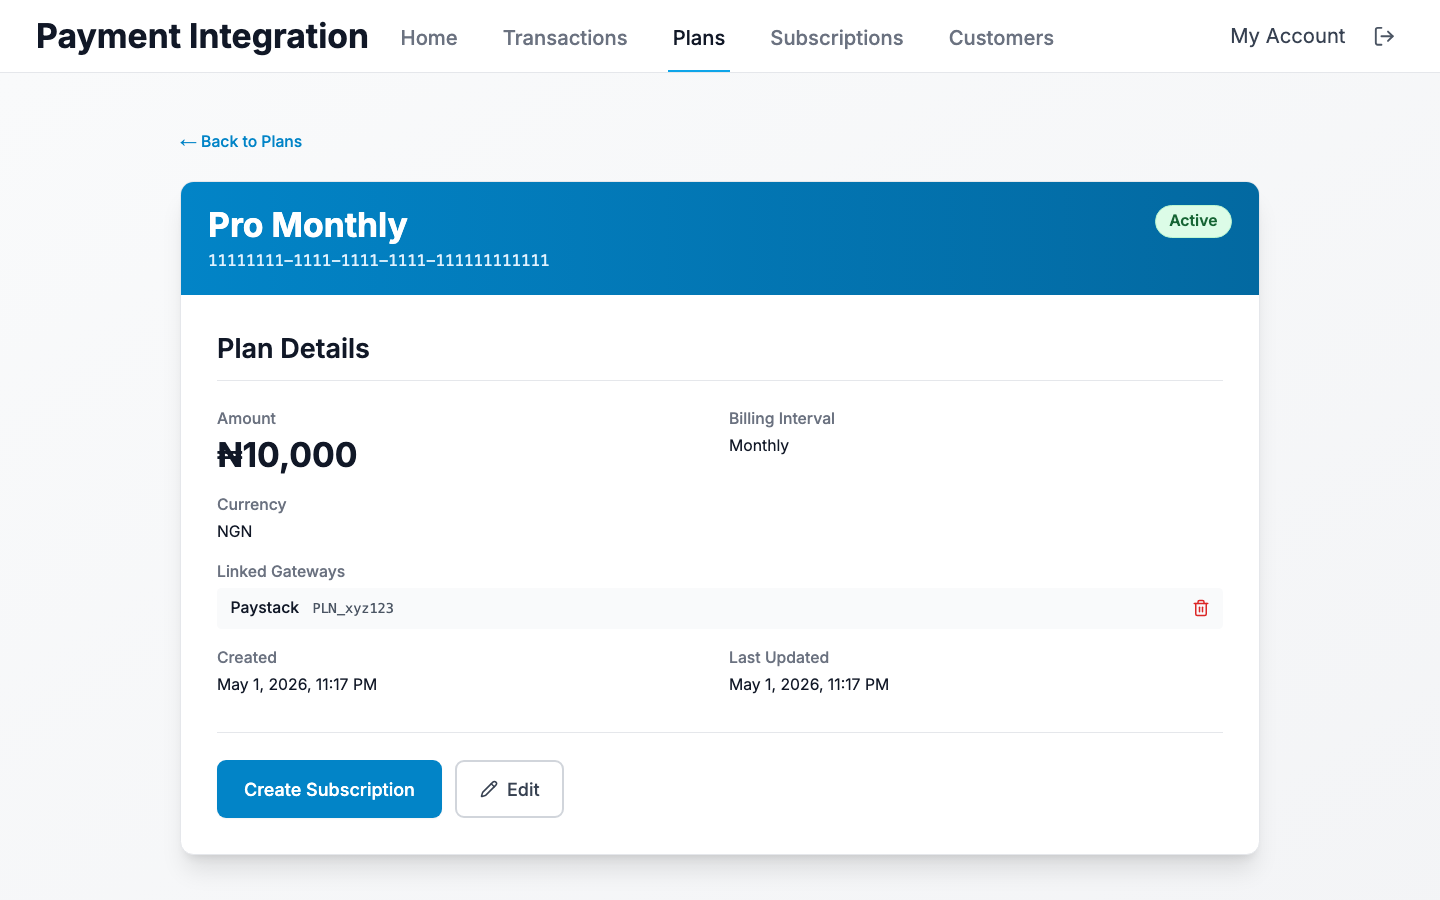
Once a plan exists with a Paystack provider link, you can subscribe a customer:
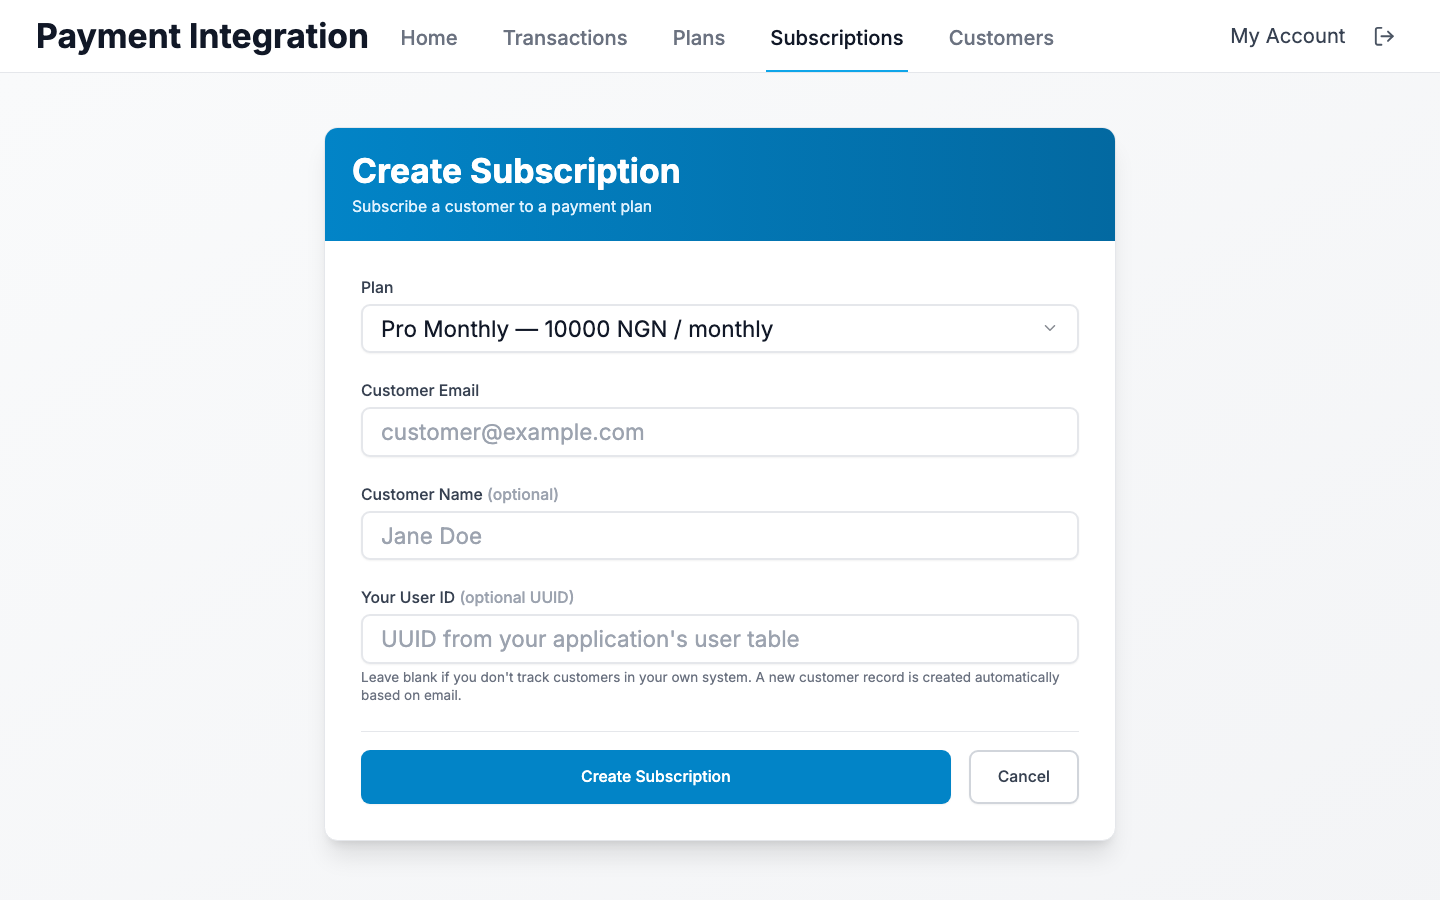
Video walkthrough coming
Plans & subscriptions end-to-end
8. Going live#
Before flipping a deployment to production:
- Replace test secret keys with live keys in each gateway config.
- Set
APP_ENV=productionon the API. This enables Gin release mode, hides Swagger by default, and tightens config validation (JWT secret length, CORS, SSL mode). - Set explicit origins on
CORS_ALLOWED_ORIGINS.*is rejected in production. - Set
FRONTEND_URLon the API so password-reset links go to your real domain. - Set
NEXT_PUBLIC_API_URLon the UI to your production API host. - Disable
SEED_DATABASE. The validator will refuse to start otherwise. - Confirm
DB_SSLMODEisrequireorverify-full. - Verify the demo cleanup sweeper is running (look for "demo sweep:" log lines).
- If you've enabled Cloudflare Turnstile (
TURNSTILE_SECRETset), wire the widget into the demo form on the UI.
APP_ENV=production
JWT_SECRET=long-random-string-32-or-more
SUPER_API_KEY=long-random-string-16-or-more
DB_SSLMODE=require
CORS_ALLOWED_ORIGINS=https://app.example.com,https://admin.example.com
FRONTEND_URL=https://app.example.com
SEED_DATABASE=false
SWAGGER_ENABLED=false
METRICS_ENABLED=true
ENCRYPTION_KEY=<32-byte hex/base64 — encrypts BYO secrets at rest>
TURNSTILE_SECRET=<from Cloudflare Turnstile dashboard>
Next steps#
- Developer API reference — code samples for every endpoint, plus a link to the Swagger spec.
- Generate an API key for server-to-server calls.
- Admin app (admin role required) — manage tenants, see metrics, browse webhook deliveries.